I was afraid you might ask for this. Keep in mind that I was quite intimidated by this project and taking pictures of my steps was not one of my strong points through it. Plus, I consider myself a poor tutorializer. We’ll see how this goes.
The biggest hurdle was finding the perfect tree. Believe me. It was difficult. What I found when researching other people’s trees is that a lot of them were too flimsy and weren’t nearly substantial enough for the space. I knew I wanted something very curvy, but also quite expansive. I think I stupidly deleted my picture of my tree. That’s what I do. I delete things I need, and I keep things I don’t. However, some sites that I swear by are flickr.com and istockphoto.com. I typed in everything from tree mural to tree silhouette.
I started out by going up to my school and stealing borrowing an overhead projector. This is essential. If you don’t have access to one, I believe you might be able to rent them from a library or office supply store. 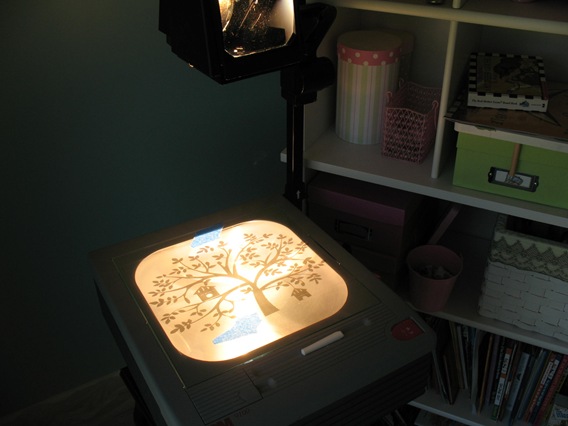
I printed out the picture of my tree and enlarged it on the copy machine. I honed in on the top part, because I was fairly certain I could handle the trunk. Plus, I knew my daughter’s bed would hide any imperfections! I kept pulling back the projector to enlarge the image on the wall until I knew I was happy.
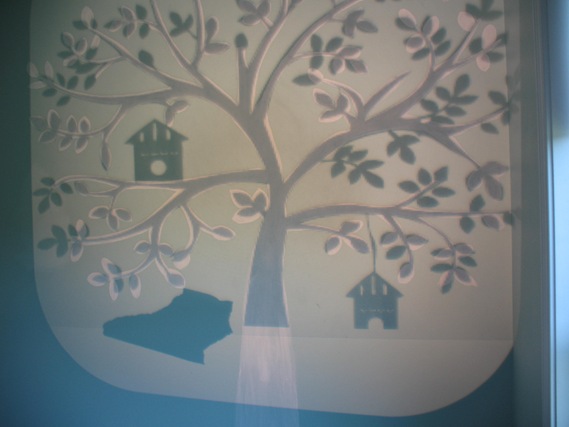
Once it was in place, I used white chalk to draw the image onto the wall. It worked like. a. charm. I simply painted right over the chalk, so I didn’t have to worry about any lines. One piece of advice, though. There are several spots where the leaves are fatter than I wanted them to be or the limbs are too thick. That’s a result of me drawing the line on the outside of the image, and it distorted things a bit. Not a huge deal, but it drove/drives me nuts.
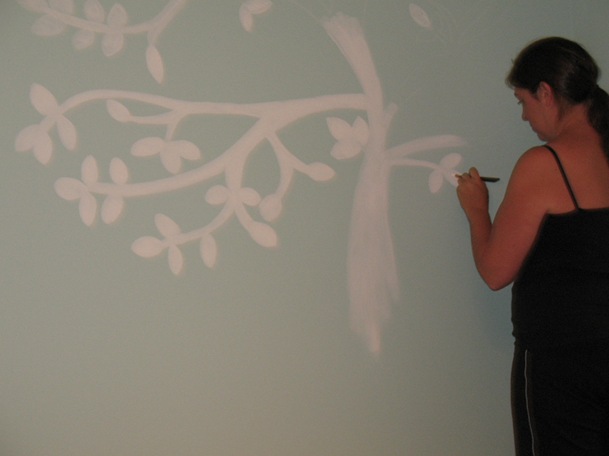
Another piece of advice? Do NOT have your son take a picture of you in a tank top and broadcast it to the world. It’s not flattering, but it’s a sacrifice I make.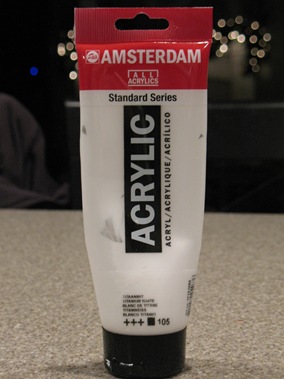
This is the paint I used. It was $9.99, and I used a 40% off coupon at Hobby Lobby. The brushes were costlier than I would have liked. They were maybe $10.00 total. I know that doesn’t seem like much, but I’m used to .47 cent brushes from Wal Mart! However, these brushes made the difference. Also, I watered the paint down just a tad. It was just a bit too thick for the application, and it was a bit more flexible being watered down.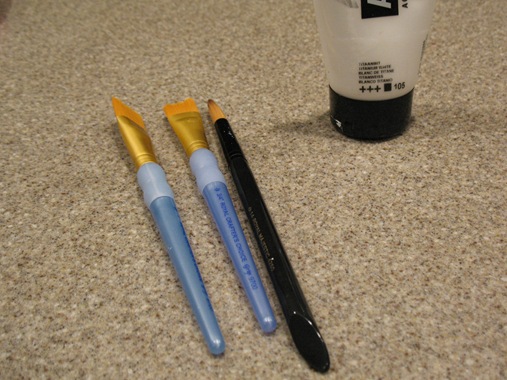
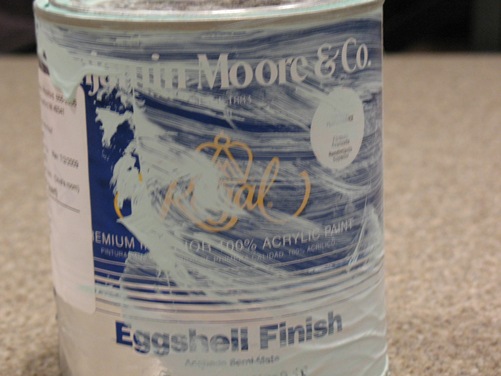
And finally…a lot of you asked about the color on the walls. It is Benjamin Moore’s Iced Green. That’s an odd name since it really is quite blue, but what do I know? I’m not usually such a messy can keeper. That is, until my dog jumps up on the counter, knocks the paint can off, and it spills open when it hits the floor. My hardwood floor, mind you. Still a little resentful over that one.
Believe me when I say that I am not a painter. However, as I got through it, I started to free hand several branches on my own. If I can do it, anyone can. Seriously!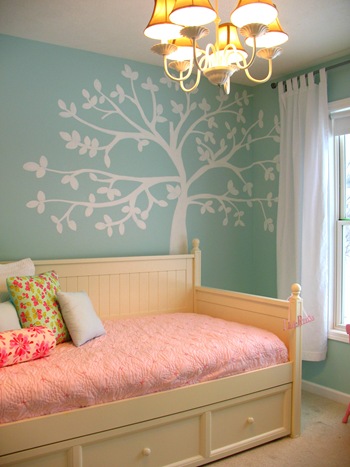
Thank you for all your wonderful and encouraging comments!


